
Swapping faces in a group photo used to require Photoshop skills and a lot of patience. With AI, you can replace every face in a group shot in seconds — no editing experience needed.
This guide walks you through exactly how to do it, plus tips on choosing the right photos and fixing common issues.
What Is Multiple Face Swap?
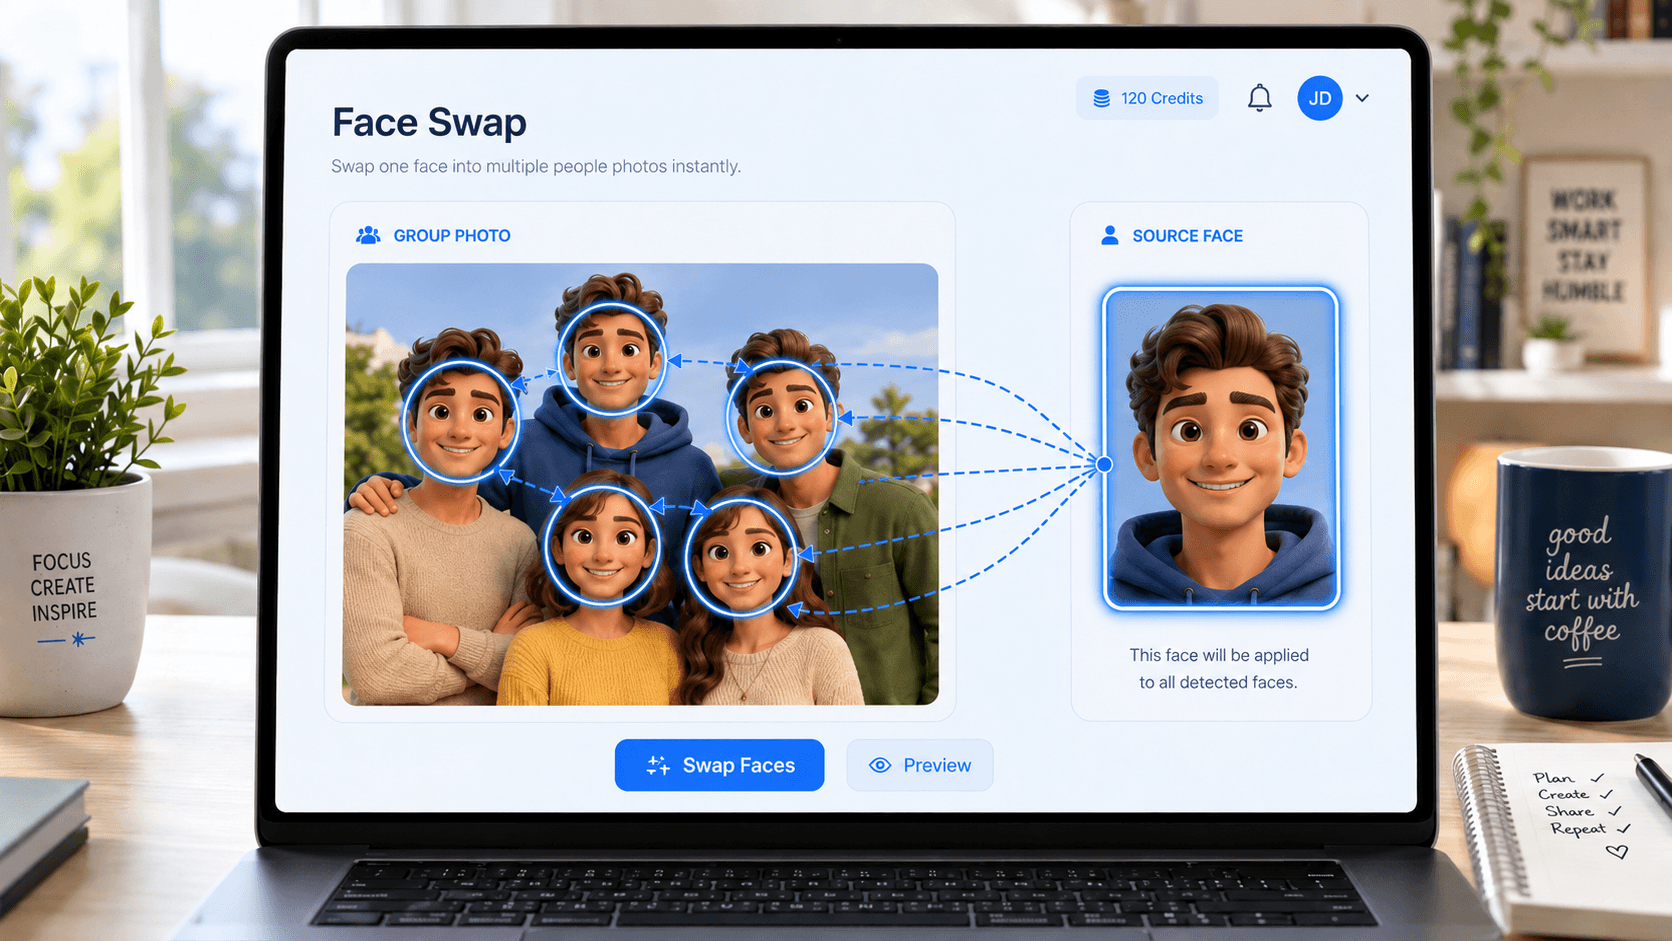
Multiple face swap detects every face in a group photo and replaces them all with one face you provide — in a single pass. Upload a group photo, upload one face photo, and the AI applies it across the entire group automatically.
This is useful for:
- Creating fun edits and memes with friends or family
- Placing one person's face into a group shot
- Experimenting with themed or creative photo edits
What You Need
- One group photo — the photo you want to edit, with two or more faces (JPG, PNG, or WebP, up to 5 MB)
- One face photo — a clear, front-facing photo of the face you want to apply to the group
The cleaner the face photo, the better the result.
Step-by-Step: How to Swap Multiple Faces in a Group Photo
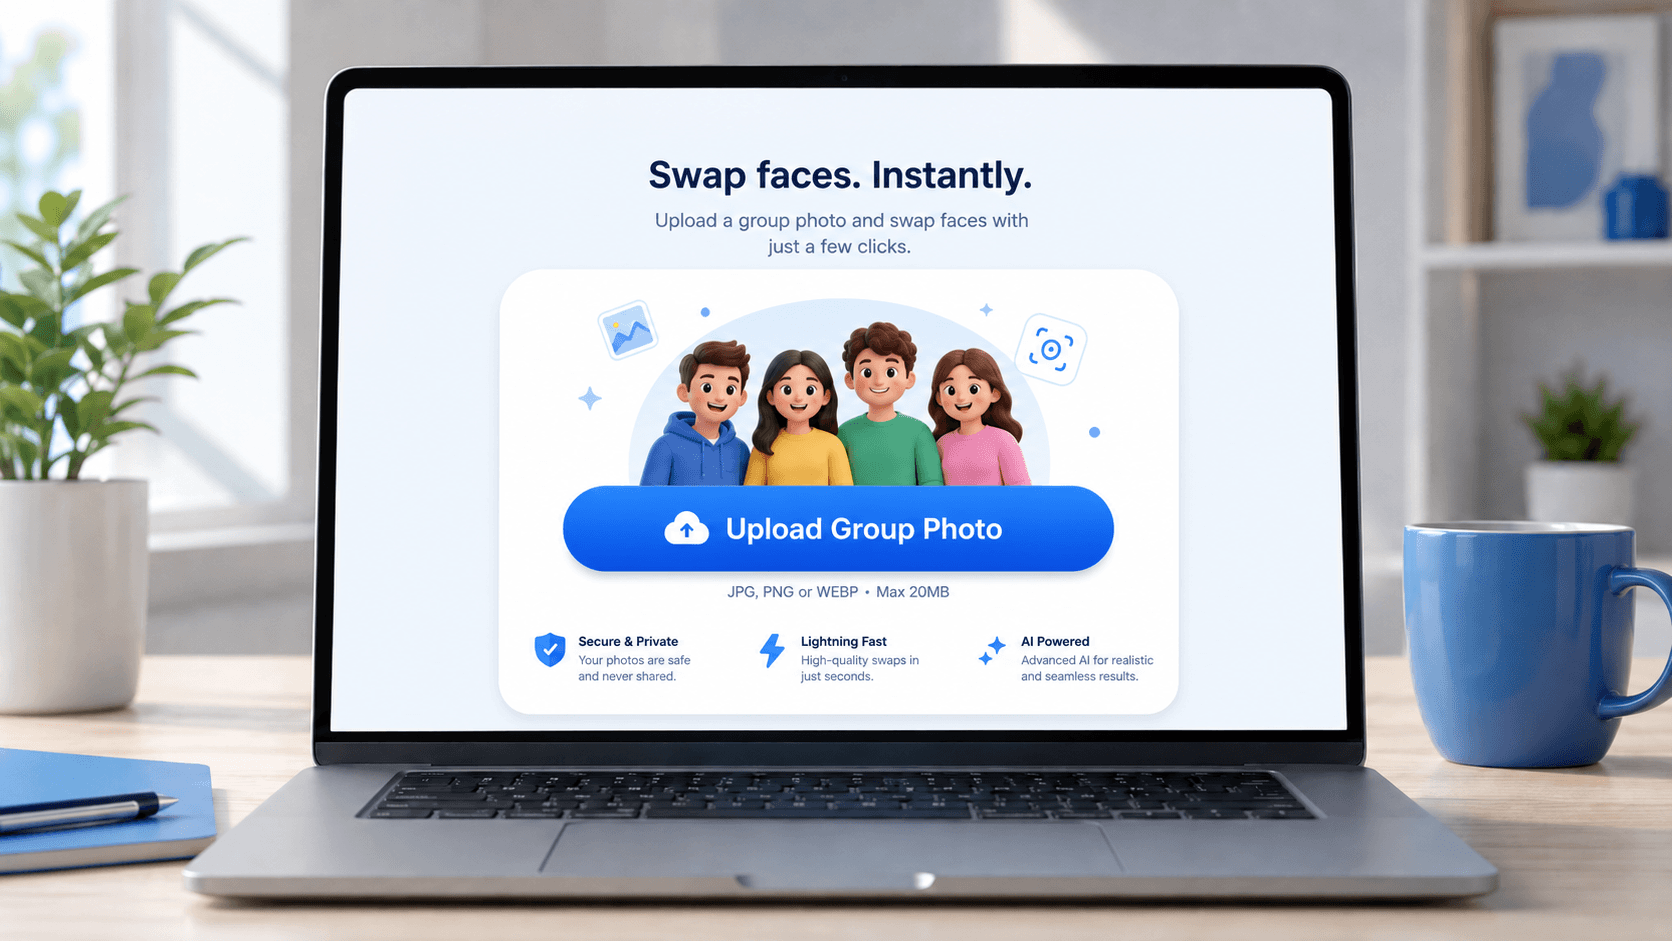
Step 1 — Upload Your Group Photo
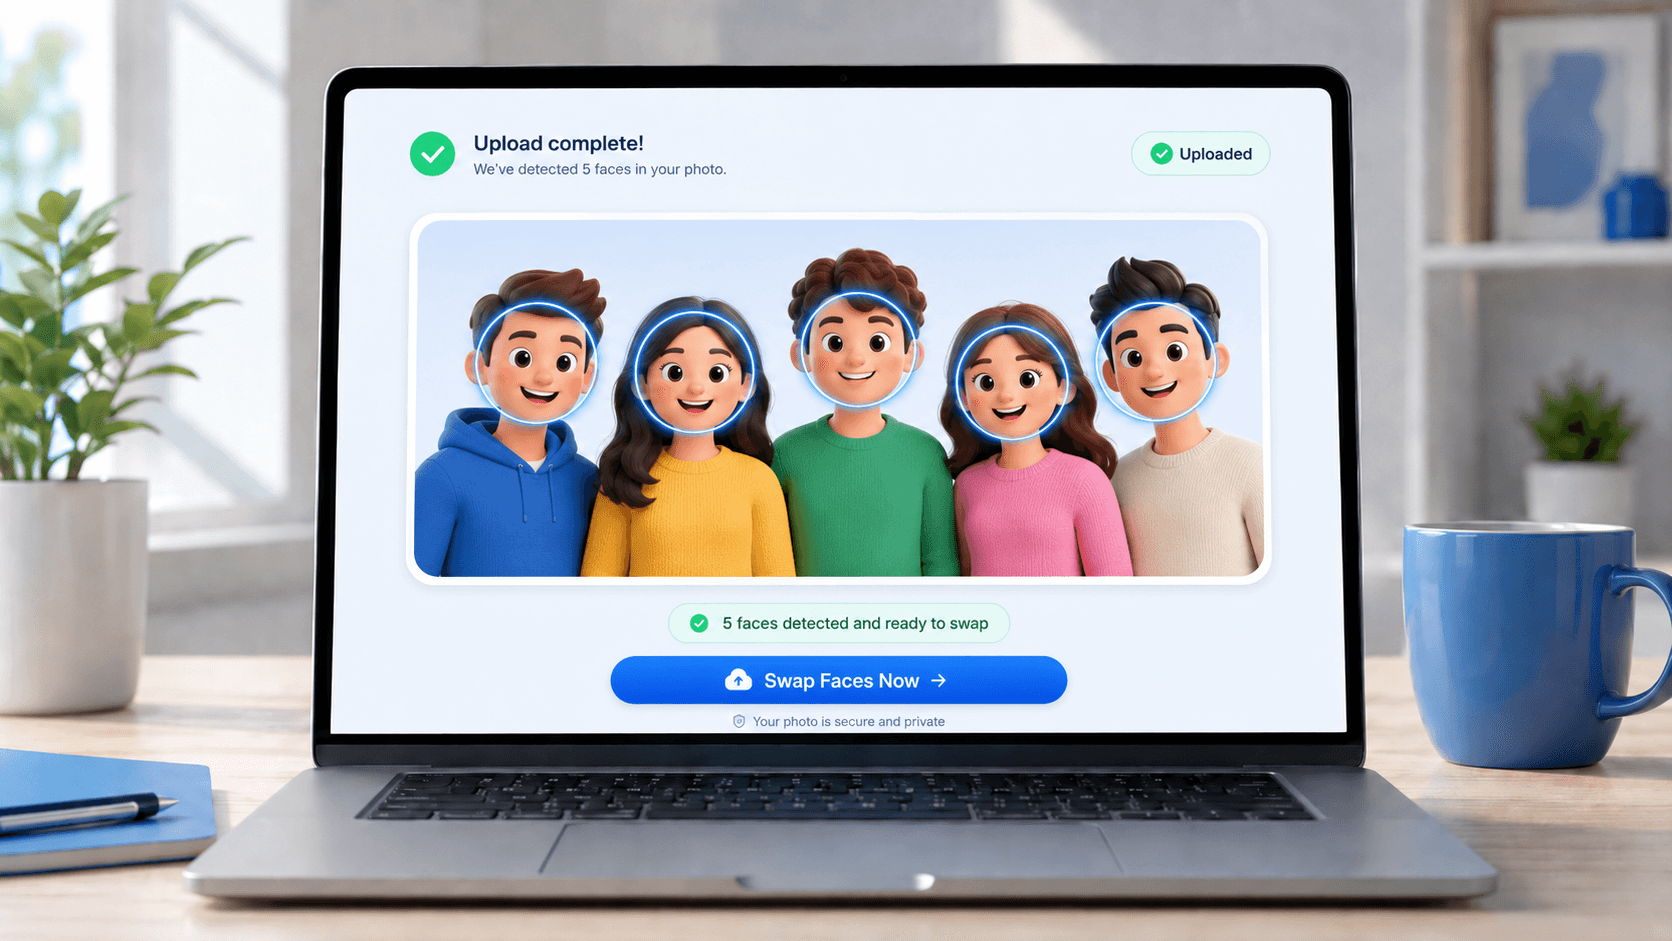
Go to Multiple Face Swap and upload the group photo you want to edit. The AI will detect all visible faces automatically.
Tips for a good group photo:
- Faces should be clearly visible and reasonably sized in the frame
- Front-facing or slightly angled faces detect more reliably than strong profiles
- Avoid photos where faces are heavily shadowed, obscured, or very small
Step 2 — Upload the Replacement Face Photo
Upload one face photo. The AI will apply this face to every detected person in the group photo.
Tips for the best face photo:
- Use a well-lit, front-facing portrait or selfie
- Avoid sunglasses, masks, heavy filters, or partially cropped faces
- The face should be the main subject — not a small distant figure
Step 3 — Generate and Download
Click Swap Faces. The AI processes all faces in one pass. Once complete, preview the result and click Download to save — no watermark.
Preview the full photo before downloading. Check that all faces have been detected and swapped cleanly, especially faces near the edges of the frame.
Tips for Better Results
Use high-resolution photos. Blurry or low-res images produce lower-quality swaps. Aim for at least 800px on the short side.
Match the lighting. If your group photo is brightly lit, use a face photo taken in similar lighting. Mismatched lighting can make the swap look unnatural.
Use a front-facing face photo. Profile shots or photos taken at a sharp angle don't blend as well. A straight-on headshot or selfie gives the best result.
Avoid heavy filters. Face photos with strong filters or heavy color grading can affect how the AI blends the face into the group.
Crop the face photo tightly. If the face is small in a wide-angle shot, the AI has less detail to work with. Crop in closer before uploading.
Why Swaps Sometimes Fail
A face in the group photo is too small — Faces that are very small relative to the image may not be detected. Use a higher-resolution photo or crop in closer before uploading.
A face is partially obscured — Hair, hands, hats, or sunglasses covering part of the face can reduce detection accuracy or cause that face to be skipped entirely.
The face is at a strong profile angle — Side-on faces are harder to detect and blend. If someone in the group is turned far to the side, that face may look less accurate or be missed.
The replacement face photo is too small or blurry — A low-resolution or blurry face photo gives the AI less to work with. Use a clear, sharp portrait for best results.
The group photo has very many faces — Photos with a large number of faces take longer to process and have a higher chance of some faces being missed or inconsistent.
A safety check blocks the request — FaceSwapMaker uses safety checks on all uploads. Use only content you own or have permission to edit.
How Many Faces Can You Swap at Once?
There is no hard limit on the number of faces. The tool processes all detected faces in the group photo in a single pass. Photos with more faces take longer to process, and very crowded photos with many small faces may have lower accuracy on faces near the edges or in the background.
For best results, use a photo where all faces are clearly visible and reasonably sized in the frame.
Multiple Face Swap vs Single Face Swap
Use Multiple Face Swap when you want to replace all faces in a group photo with one face at once.
Use Single Face Swap when you want to replace only one specific face in a photo and leave the rest untouched.
For animated content, use GIF Face Swap or Video Face Swap instead.
Frequently Asked Questions
Can I swap faces in a group photo for free? Yes. You can try the tool without signing up. No credit card required.
Do I need to sign up? No. You can try the tool anonymously. Creating an account lets you purchase credit packs for more swaps.
Will there be a watermark on the downloaded photo? No. All downloaded results are watermark-free.
Does it swap all faces to the same one face? Yes — the tool applies one face photo to every detected person in the group photo. If you want to swap a single face only, use the Single Face Swap tool instead.
What if the AI misses a face in the group photo? Make sure faces are clearly visible and not too small in the frame. Very small, obscured, or strongly side-on faces may not be detected. Try a higher-resolution photo or one where all faces are more forward-facing.
Can I use this on mobile? Yes. The tool works on mobile browsers — no app required.
Is my photo stored or shared? Your uploads are processed securely and not shared publicly.
Ready to Try It?
Swap Faces in Your Group Photo →
No sign-up. No watermark. Results in seconds.